16 Jan
Blogs are essential part of Ecommerce websites. The easiest way of creating an audience and attracting new customers towards your online store, you need to blog very often.
There are tons of platforms to use for blogging, but when you have Ecommerce website with Shopify, the best solution is to use its native blogging system. Shopify has made it very easy to setup blog in Shopify. You need to follow some simple steps and you are all ready!
Setup blog in Shopify:
1. To create new blog, goto: Online Store >> Blog Posts.
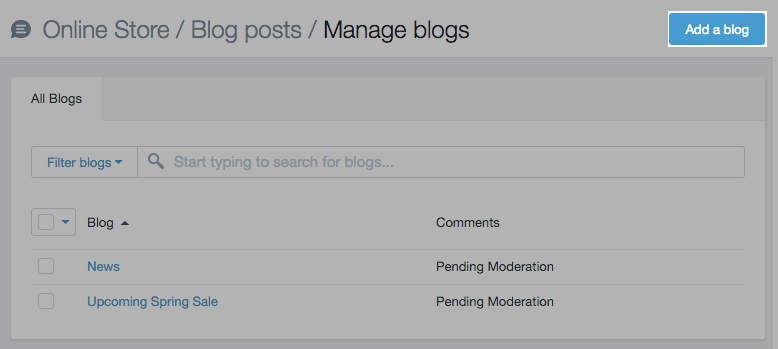
2. Click on Manage Blogs.

3. Click on Add a blog:
4. Give your blog a name – make sure you name it wisely.
5. Click on Save blog.
Once you have created your blog, you now need to make it visible on your website. The best place for blog link is on main navigation or website footer navigation. Preferred is on main navigation though.
Adding Shopify Blog to Your Navigation:
To add your newly craeted Shopify blog to your navigation, you need to follow below steps:
1. On your Shopify admin, goto Online Store >> Navigation.
2. On Navigation page, click on the menu you want to edit.
3. Click on Add menu item.
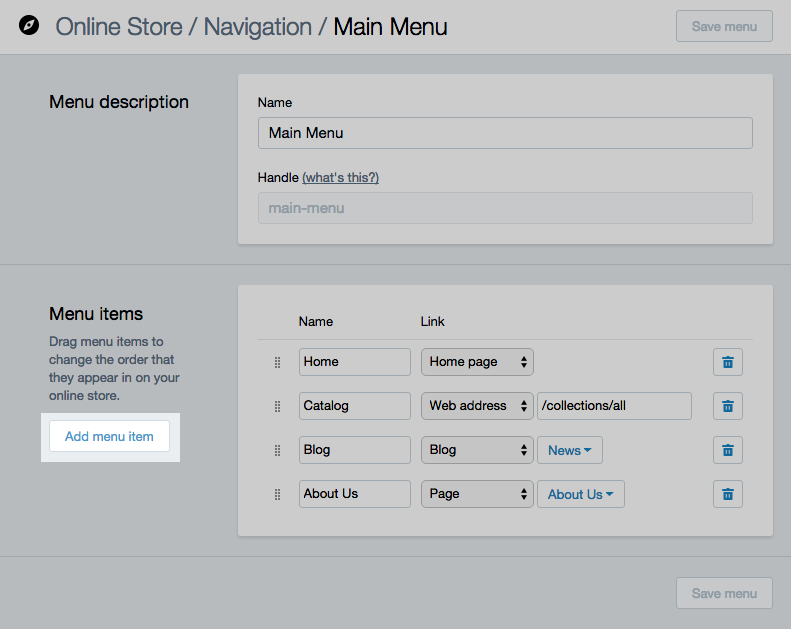
4. A new line will appear for you to enter two fields. In Name field, enter your blog name or simply “Blog“.
5. In next field, from drop-down, select Blog.
6. A new drop-down field will appear. You need to select the blog name which you created earlier.
That’s it! you should see your newly created Shopify blog on your website now. Make sure to create some nice posts to make your blog more engaging.
If you find anything out of your expertise, feel free to contact us and we would love to help.